Submitting your site to Google is one of the most important things you need to do for your wordpress site.
Submitting a wordpress site to Google requires 3 simple steps:
Step 1: Verifying Ownership in Google Search Console
Step 2: Creating an XML Sitemap
Step 3: Uploading XML Sitemap to Google Search Console
If you have already done the first 2 steps, you can click directly on the 3rd step.
Verifying ownership in GSC can be done in a couple of steps.
The first thing you need to do is to go to: https://search.google.com/search-console/about
Then click on “Start now”
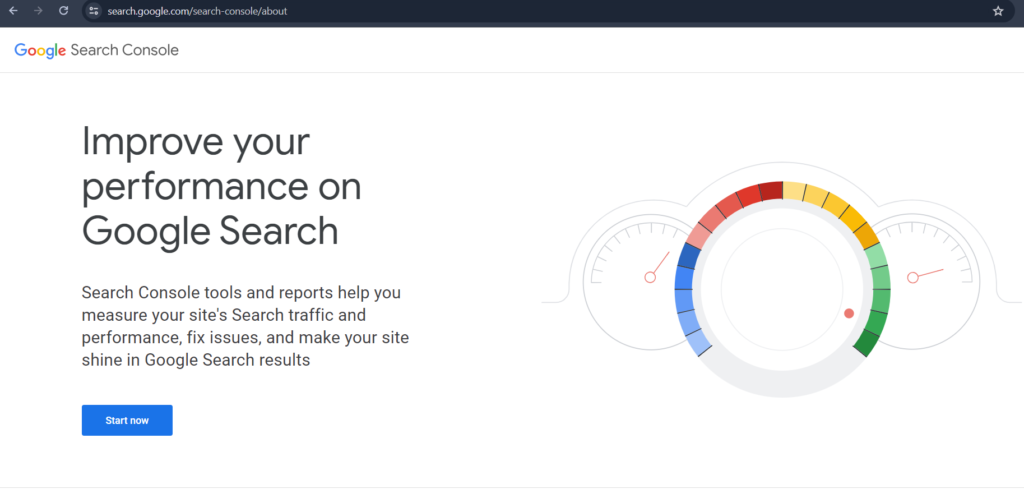
After that you will need to type in the URL prefix of your domain, in my case its https://seorepresent.com/, but you will need to copy and paste the URL from your website.
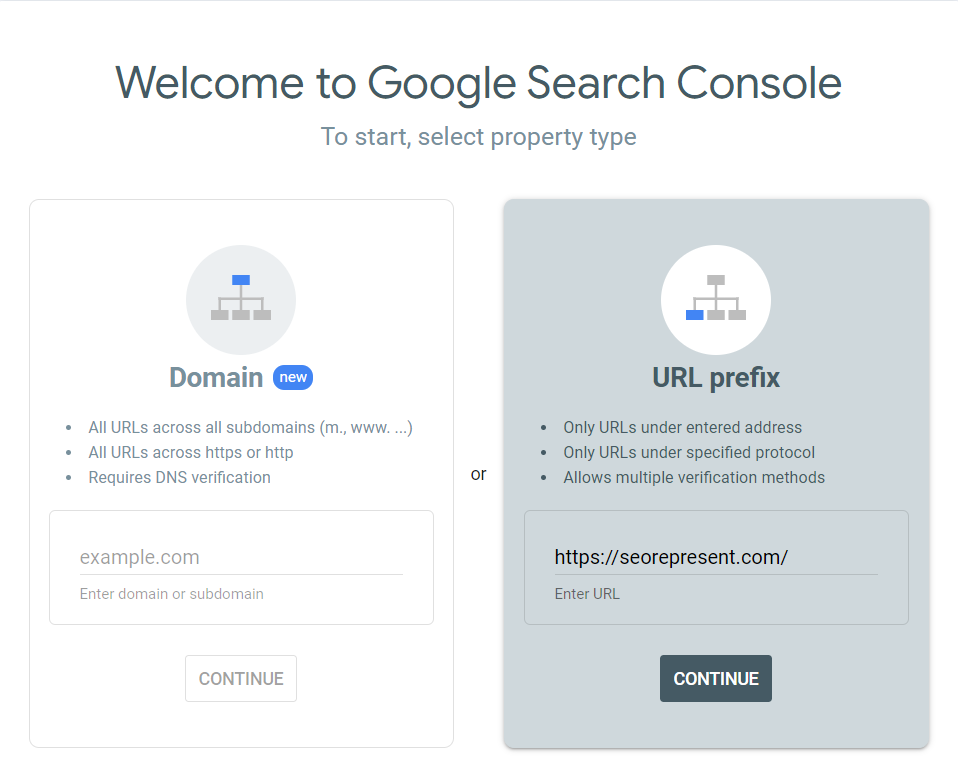
After that we click continue.
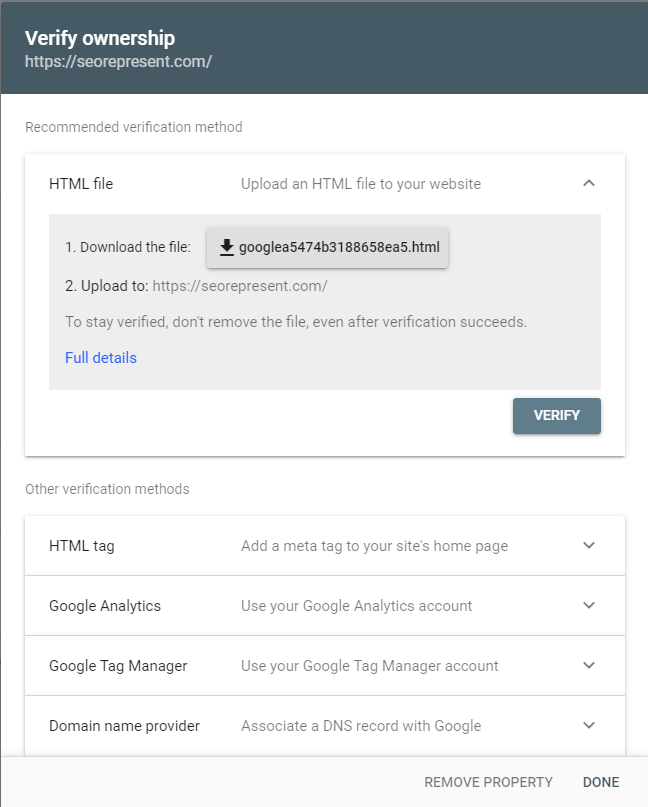
We are now being shown a couple of options to verify the property, but by far the easiest one is the “HTML Tag” option.
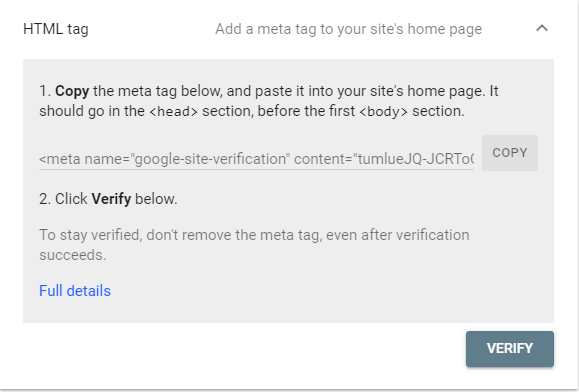
After clicking on the HTML tag, you will need to copy the code and paste it into the <head> section of your wordpress website.
After that you will need to log-in into your wordpress account and install a plugin called WPCode that will enable you to easily insert the code into the <head> section of your website, without any possibility of making a mistake.
To do that follow these instructions: Plugins → Add New Plugin → WPCode → Install & Activate.
The reason why we download a plugin for this step, is because if you decide to change the theme of your website, the tracking codes will not be lost along the way.

Next up, we need to open up the WPCode Lite plugin that we installed, and paste the code into the header section, and click Save Changes.
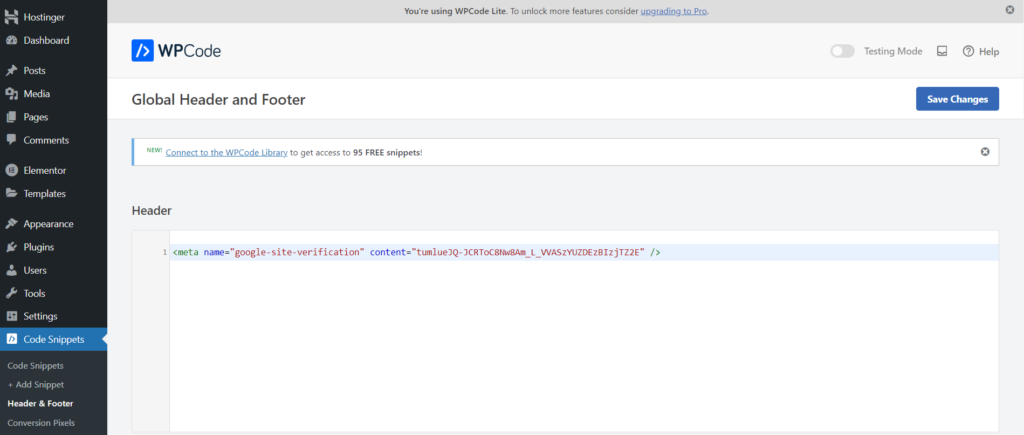
Now go back to the search console and click Verify.
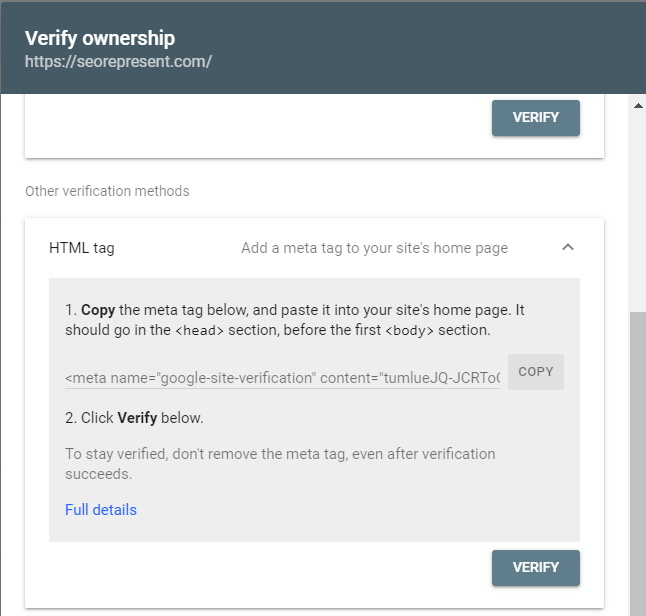
If everything was done correctly, it will display “Ownership verified”

You can now proceed with the second step which is creating the sitemap.
One of the great things about using a wordpress is that you do not have to create an XML sitemap from scratch. Instead we can use a plugin called Yoast SEO, that will create an XML sitemap ready to go. Here’s how we can do that:
The first thing that we need to do is install Yoast SEO. You can do that by going to Plugins → Add New Plugin → Type in Yoast SEO → Install & Activate.
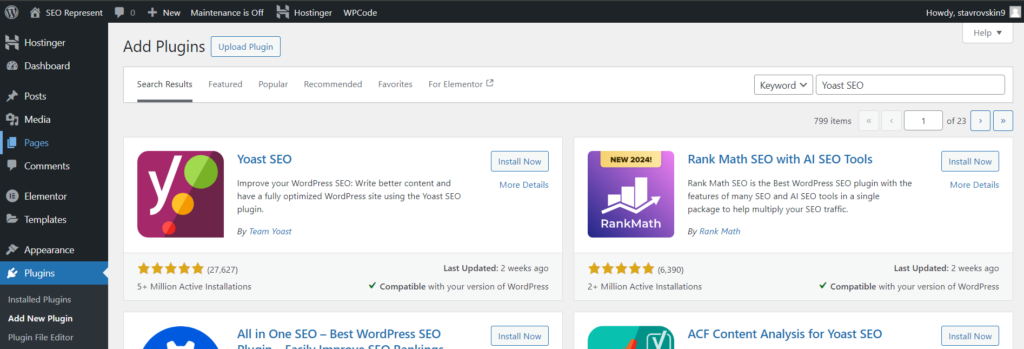
Your sitemaps are now created automatically by Yoast SEO. Easy as that.
We can now proceed with the final step, which is uploading your sitemaps to the Search Console.
Now we have reached the final step. After all the heavy lifting is done, all that is left to do is uploading the XML sitemap to the Google Search Console, which can be done in a couple of clicks.
First thing you need to do is find the URL of your sitemap. You can do that by going to the Yoast SEO plugin and going to settings.
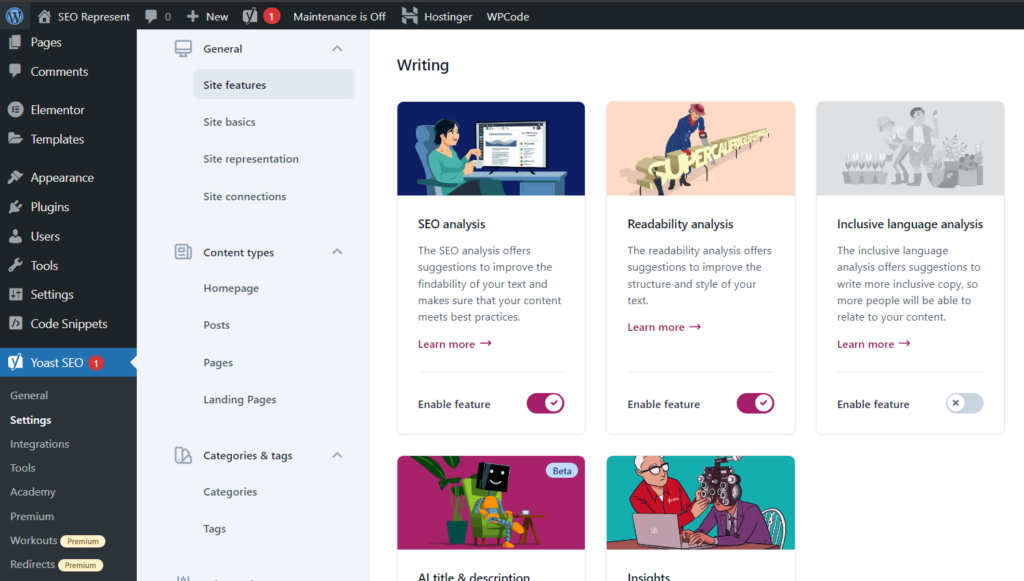
After you get a something similar to the screenshot above, you need to scroll down to the bottom and get to the APIs section where you can see the XML sitemap.
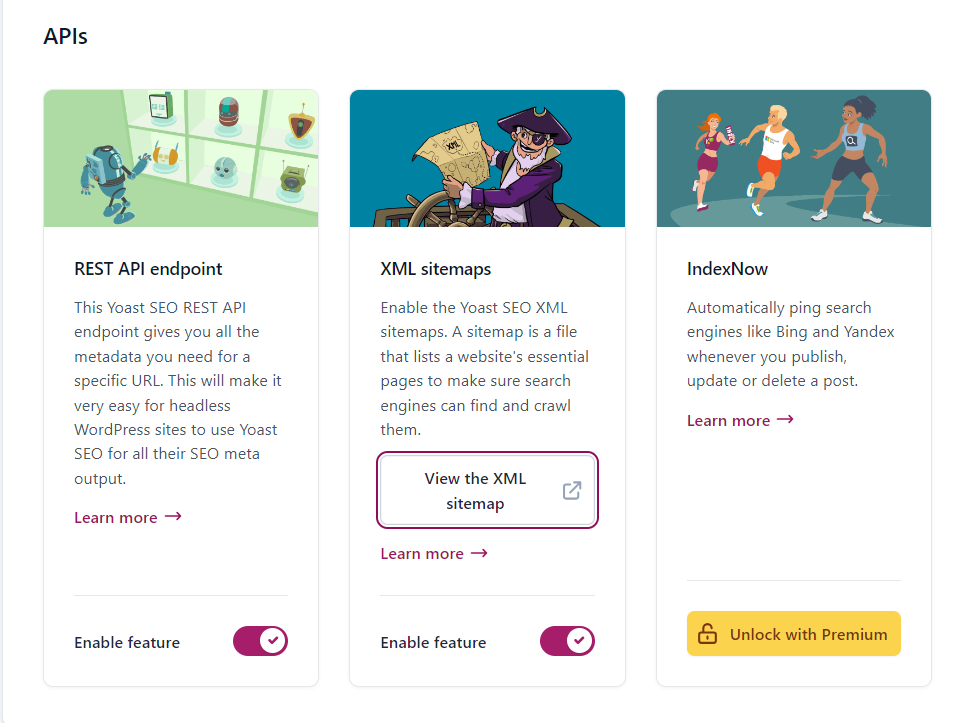
After you click View the XML sitemap, you will be redirected to the sitemap URL, which we will copy.
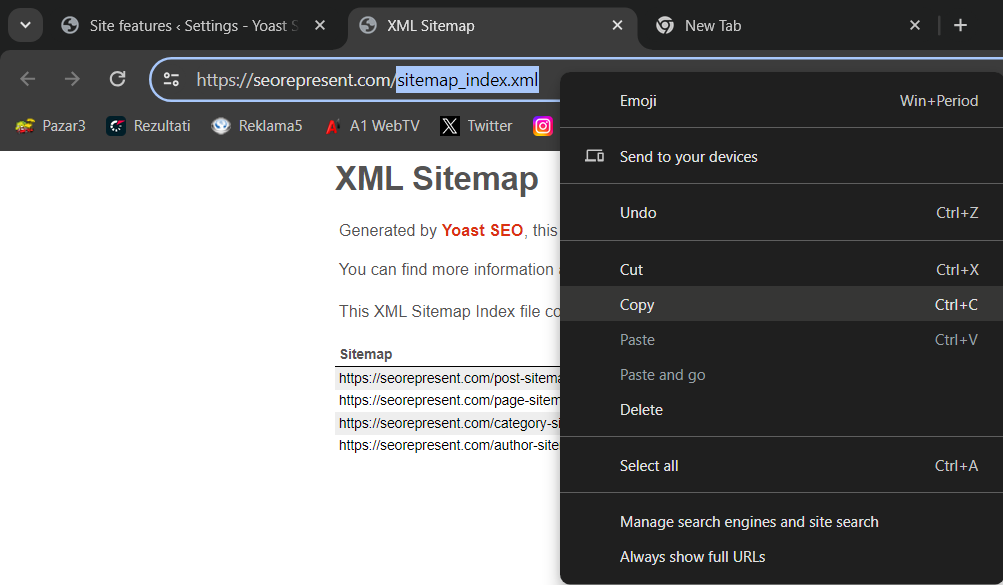
After that, we open up the search console property, and click on the Sitemaps on the left side of the panel.
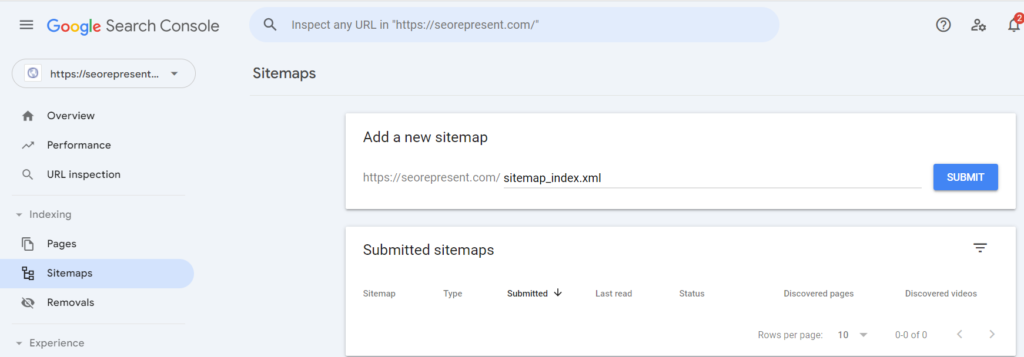
All that is left to do is click on Submit.
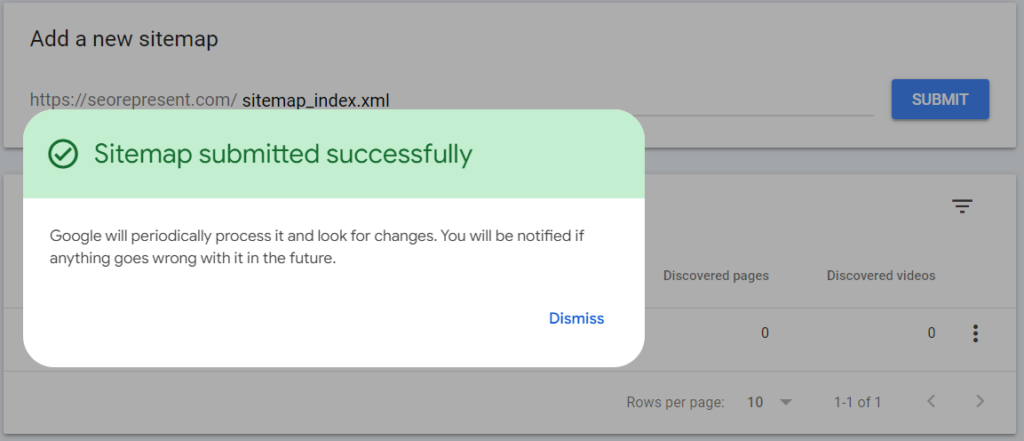
Now all that is required from your end is a little bit of patience, and Google will do everything else.
Share the Post:

Let's deep dive into your business goals and vision. During our call we'll explore the unique aspects of your brand, identify your target audience, and understand the challenges you face in the digital realm.
© 2025 All Rights Reserved.